How to align multiple projectors?
Aligning multiple projectors can be a time-consuming task, whether it's an AV or entertainment event, a permanent exhibit in a museum, or a flight, ship, or vehicle simulator. Seamless integration from one projector channel to the next is essential.
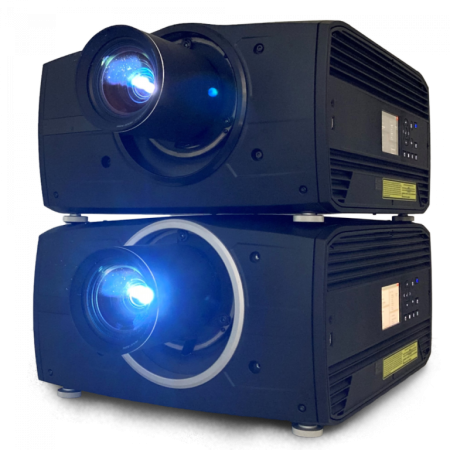
Things get complicated when spherical or dome-shaped screens are involved, or when they are designed as 3D objects. Time and precision are critical factors in this process. Achieving accuracy often requires a significant investment of time, and in the event of a technology failure or operational change, the entire projector alignment process may have to be started from scratch.
The article describes the fundamental process of a camera-based calibration system, along with the software that can significantly aid in the process. While it is possible to perform the calibration manually, considering today's hourly rates, making it beneficial to explore suitable software tools. Moreover, in the realm of professional simulation setups, relying on such software solutions has become indispensable due to the high demands for accuracy and availability.
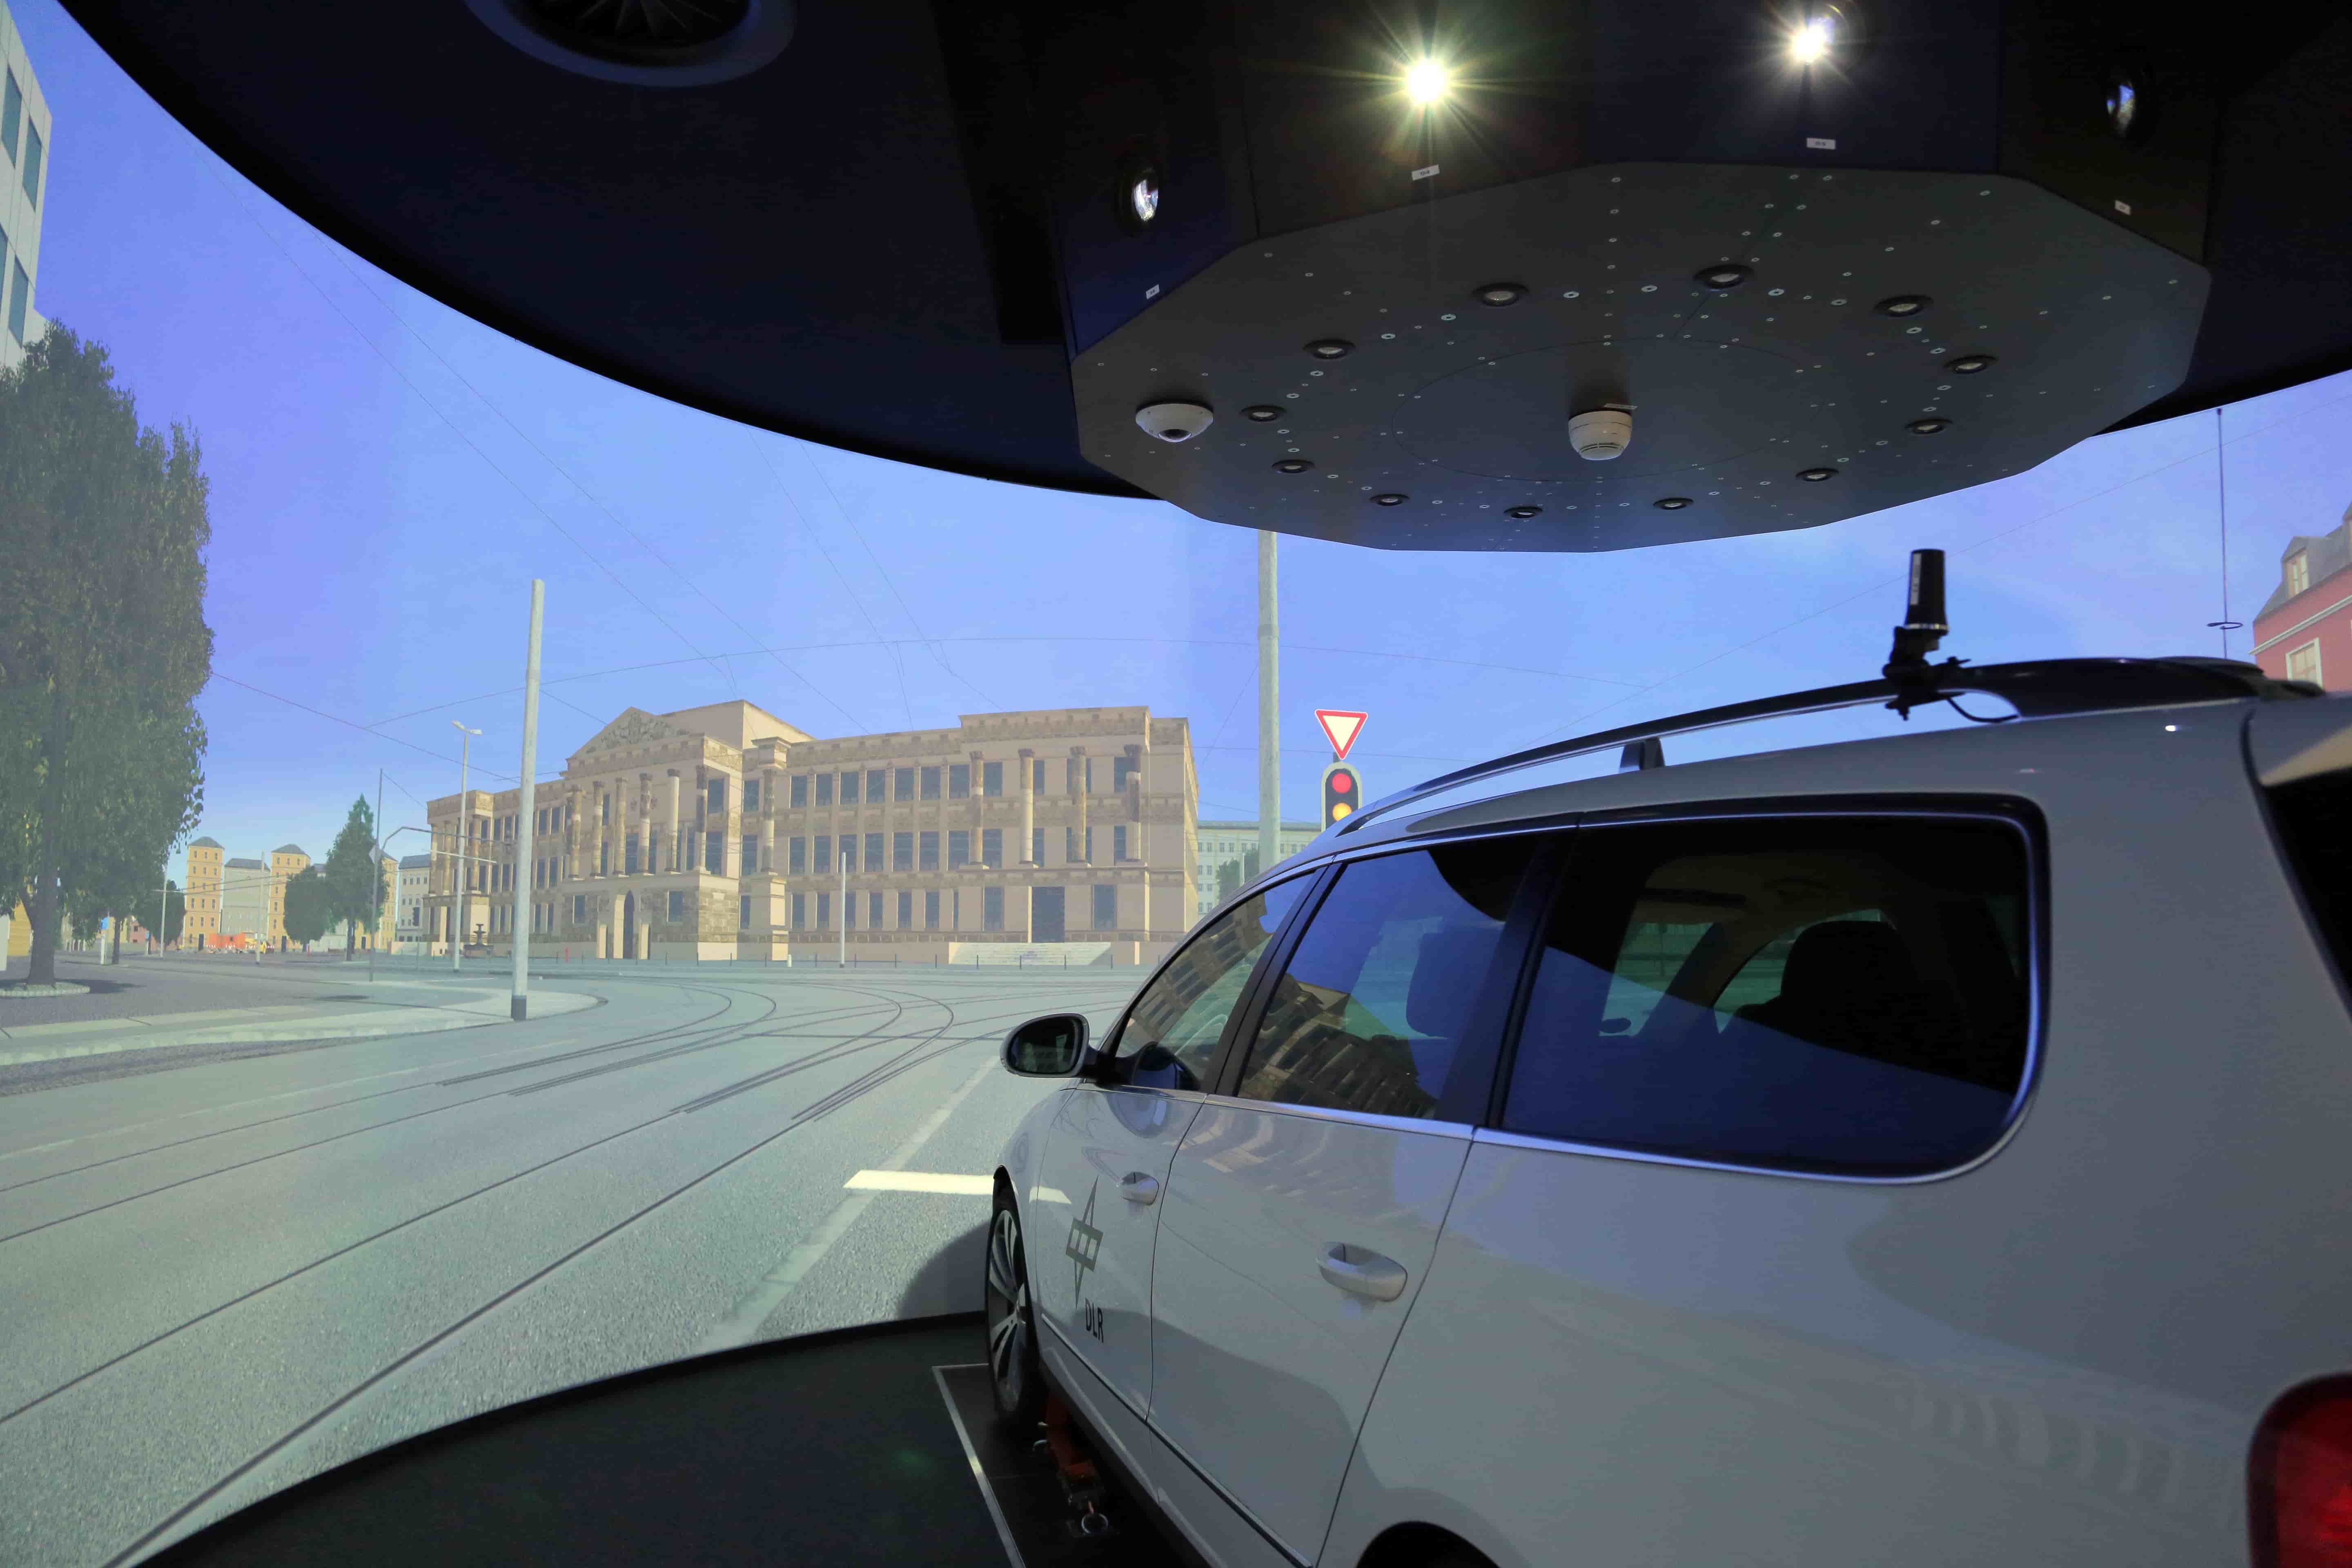
Driving Simulator
Projection with 12 projectors on a spherical 360-degree screen
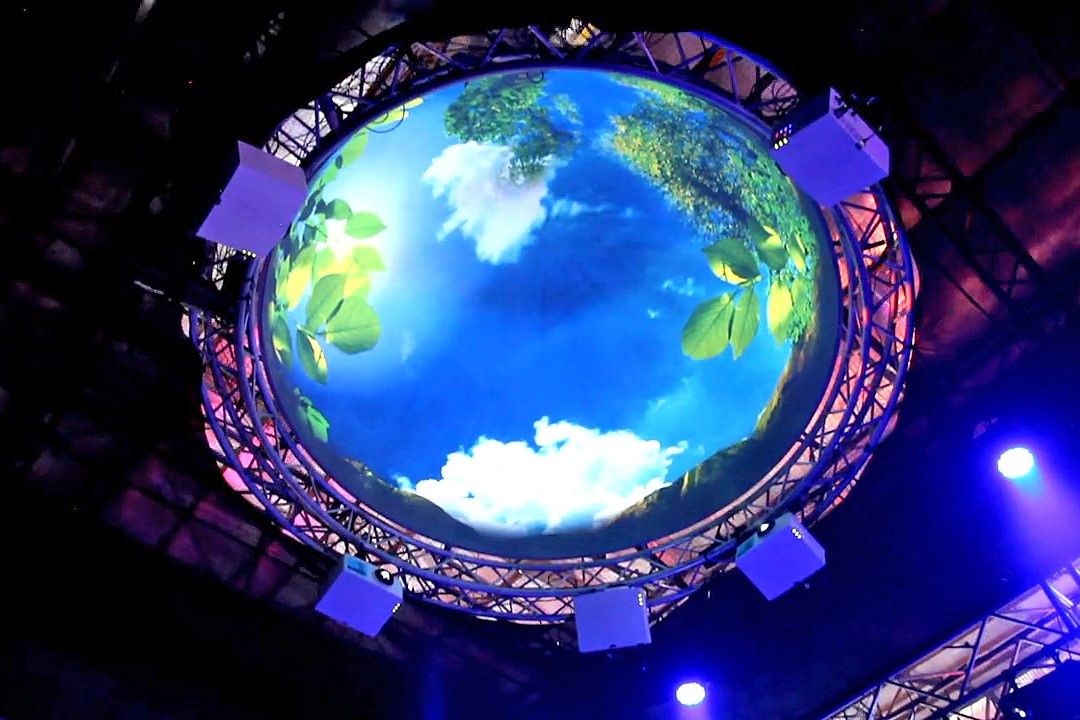
Show Dome
Dome Projection with 6 projectors
Warping and blending when using multiple projectors - what's it all about?
Blending, or edge blending, refers to the process of overlaying one projected image onto another at the edges, resulting in a seamless merge of multiple projector images into one cohesive display. This technique also involves adjusting the brightness to prevent any noticeable differences in brightness at the overlaid areas.
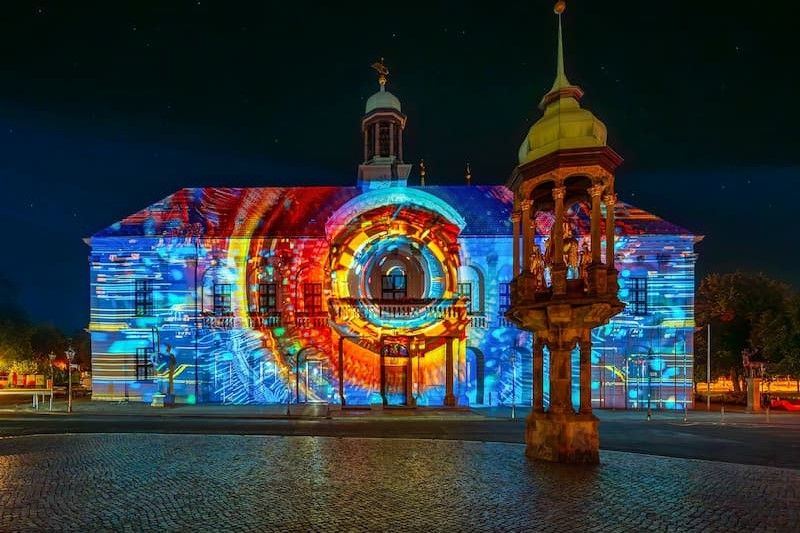
Warping refers to the precise adjustment of projected images to match the shape of the surface they are displayed on. You might have seen projection mapping, where images beautifully align with buildings, or projections on curved surfaces like spheres, domes, or cylinders. These techniques are often used in professional AV & Entertainment projects and simulators, where surfaces can have unique shapes, such as curved or complex structures.
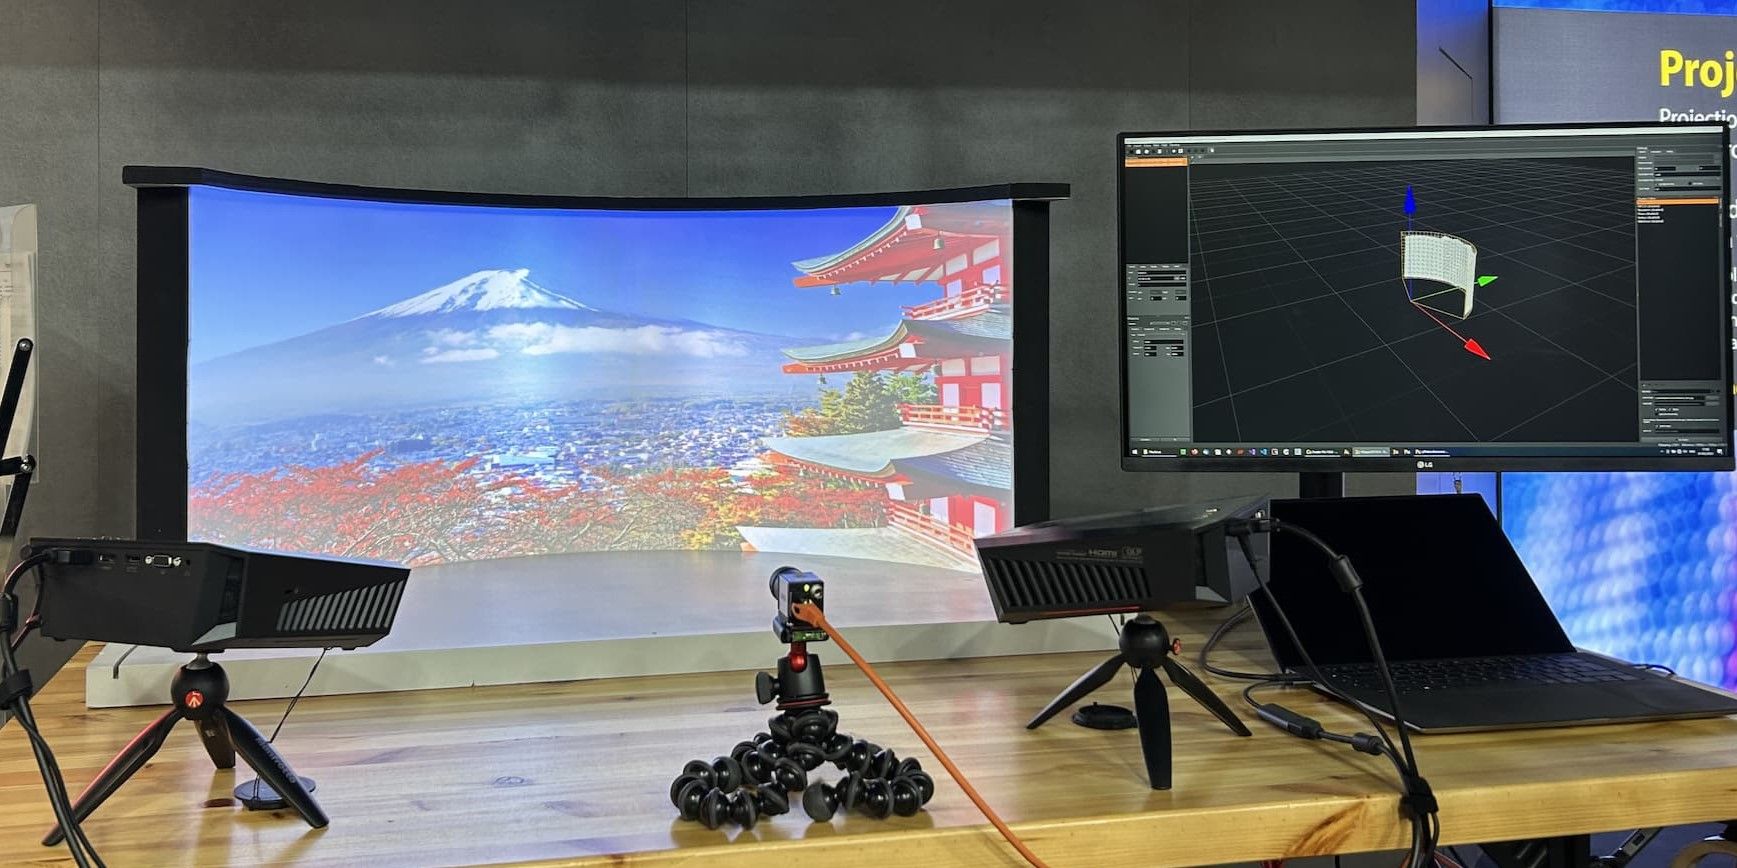
Demo setup multi projector alignment
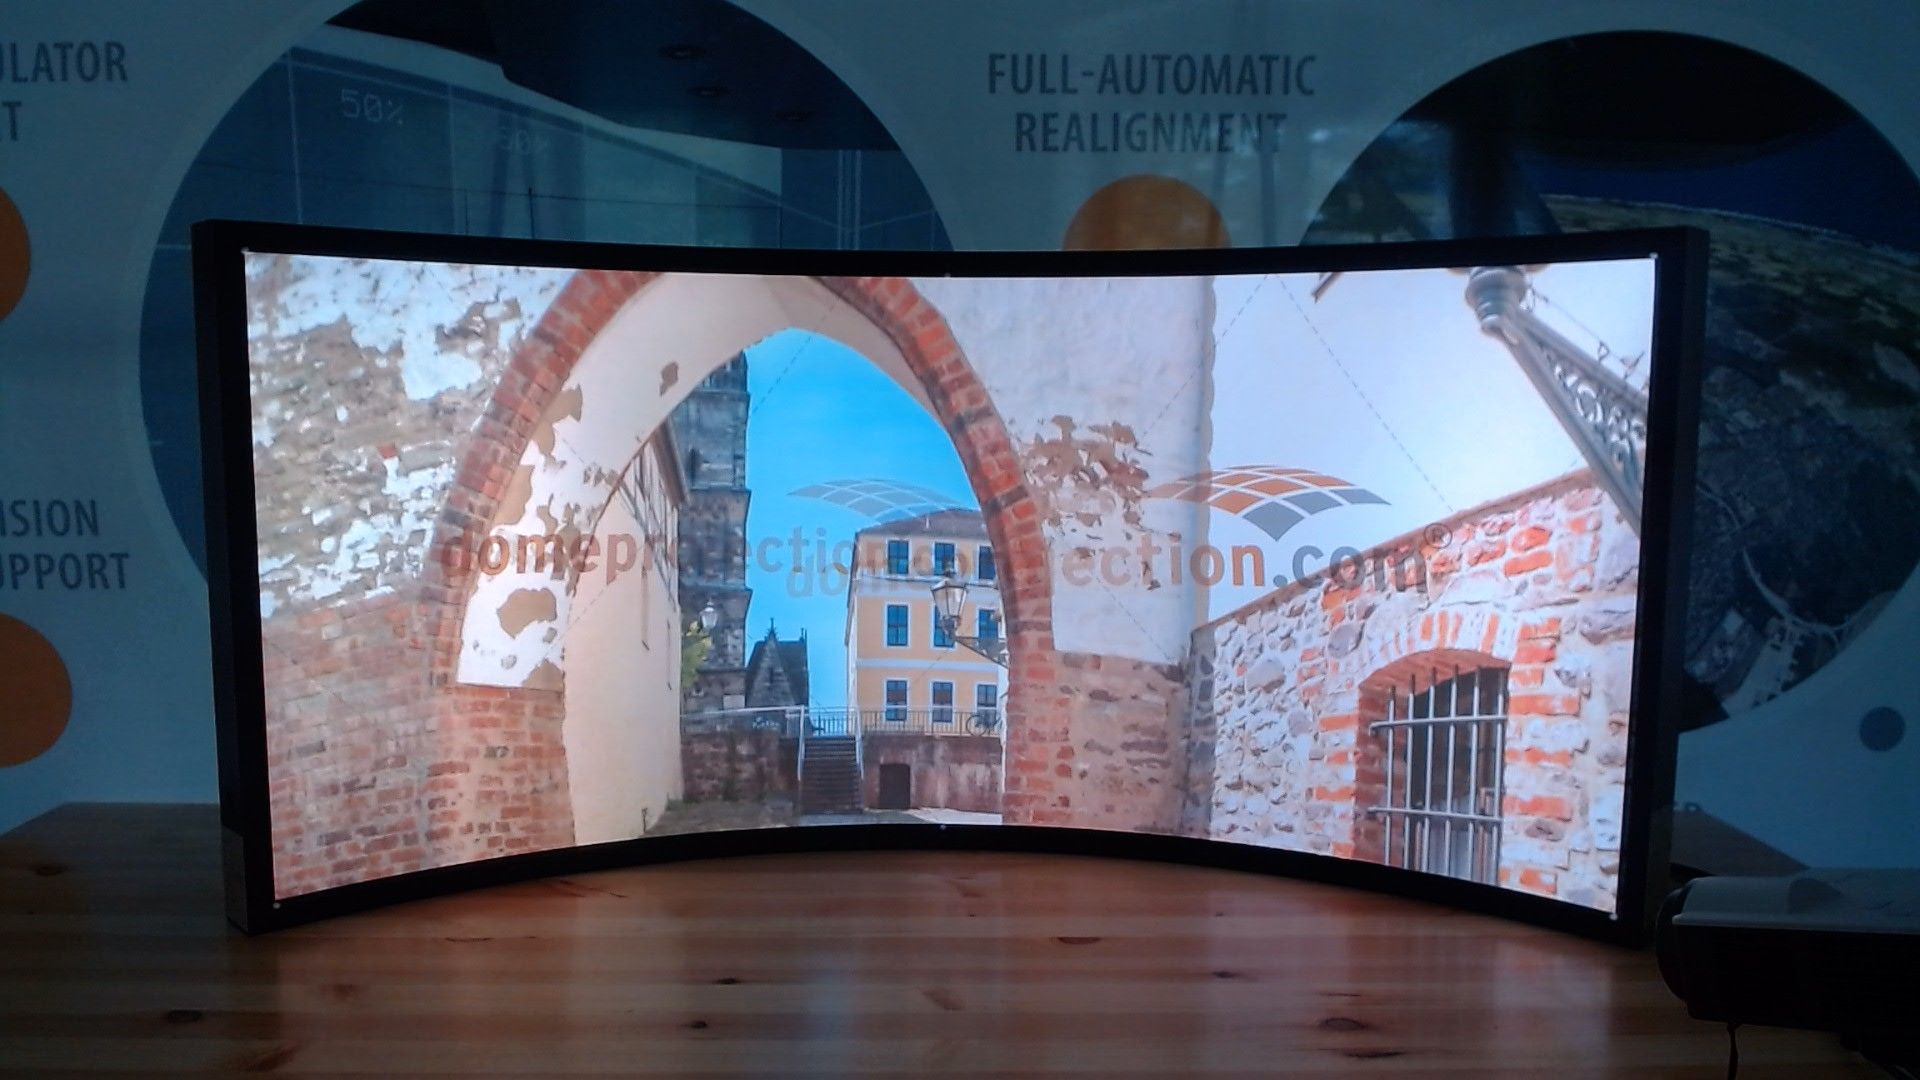
2 projectors and 1 camera - re-alignment in less than 1 minute.
To achieve a geometrically and visually accurate representation (warping and blending) on each individual screen, adjustments can be made either manually, which can be time-consuming, or with the assistance of software. The software approach can utilize cameras, and it is commonly known as camera-based alignment.
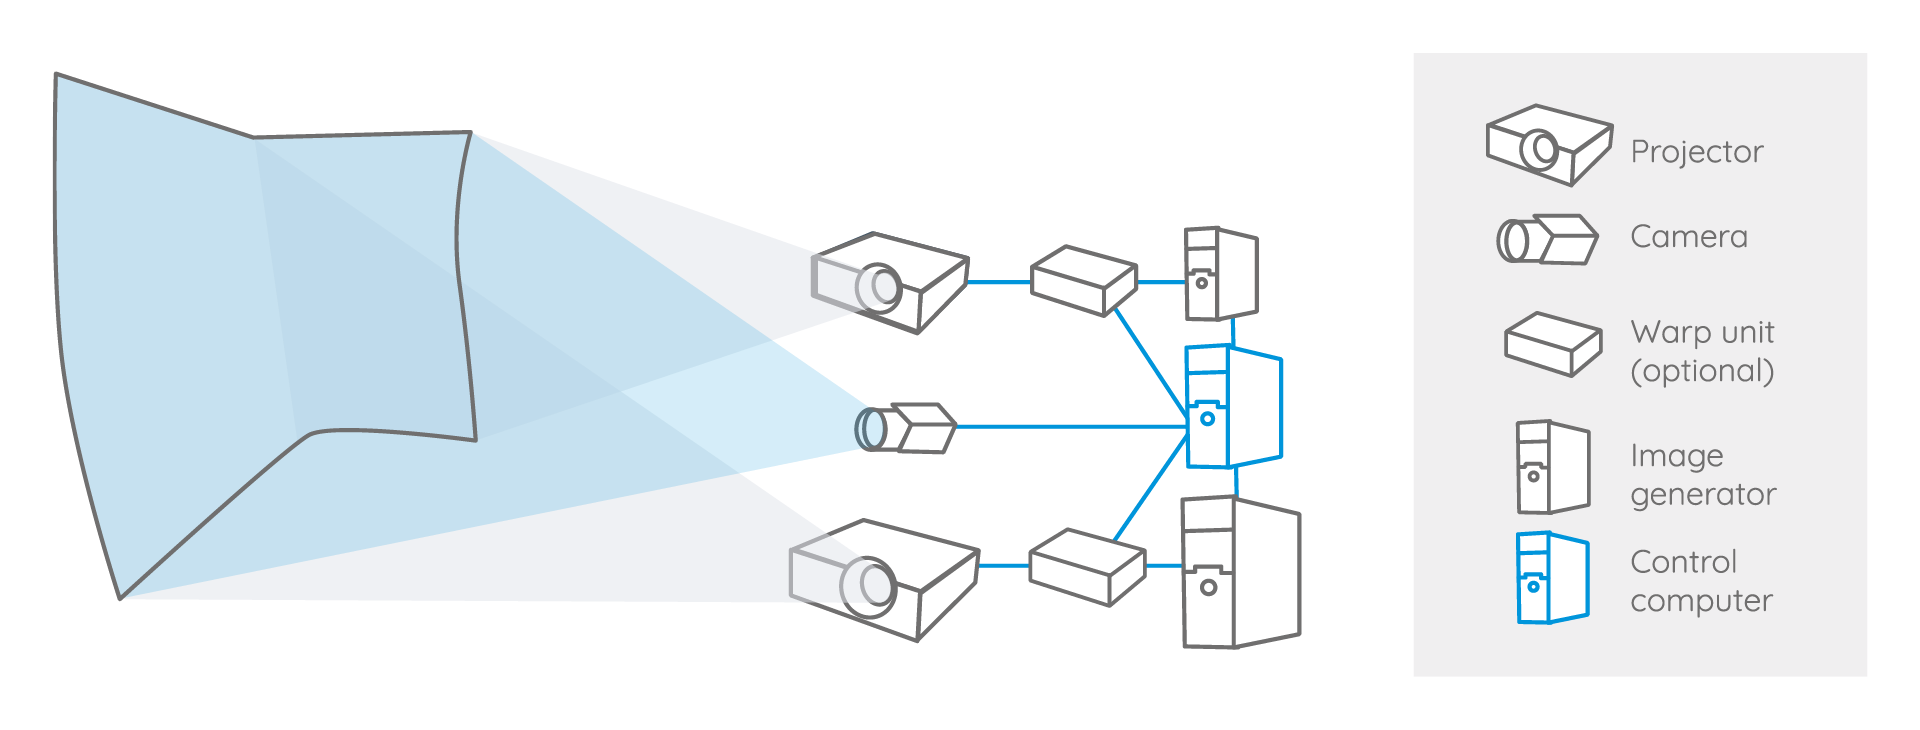
System for multiple projctor alignment with a separate image generator and a control PC
Camera-based projector alignment
The process is well established, fast and helps to automate manual processes. An essential part of this solution is the use of cameras that measure the screen and provide the data for the software generated warping and blending exports.
In the process of camera-based alignment, digital cameras capture test samples, which are displayed using a pattern generator, and then send these samples to the software for analysis. Once the analysis is completed, the resulting data is exported to the media server or image generators. The projected images are then skillfully warped and blended onto the screen or object.
The number of cameras required depends on the size of the screen or object being calibrated. For comprehensive coverage, it is essential that the entire screen or 3D object is well-captured by the cameras. To achieve this, spherical lenses or fish-eye lenses can be used in conjunction with industrial camera bodies, or even consumer devices like Canon cameras can be utilized. Prior to the calibration process, cameras undergo a calibration procedure to enhance accuracy and eliminate lens and camera distortion.
Do you have a special project, are you interested in in-depth-information? Click here to submit your project information.
Basic workflow to align multiple projectors using domeprojection.com® ProjectionTools
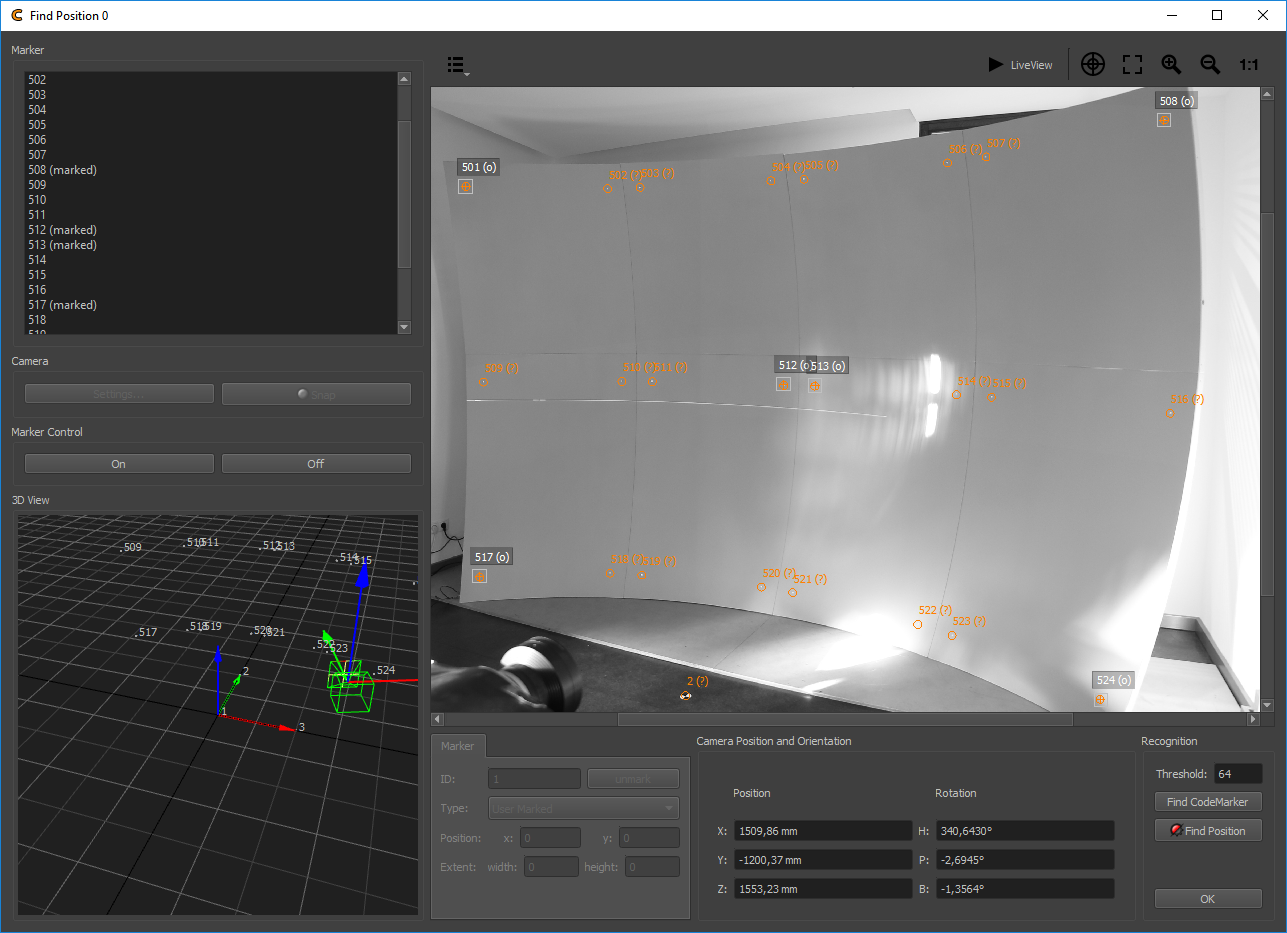
The domeprojection ProjectionTools consist of several interconnected software components. The measurement process starts with an initial recording of the room's geometry and the optical measurement of each individual projection surface, with the assistance of the installed camera or cameras. Used tools: ProjectionTools Creator (CR) and the PatternGenerator (PG).
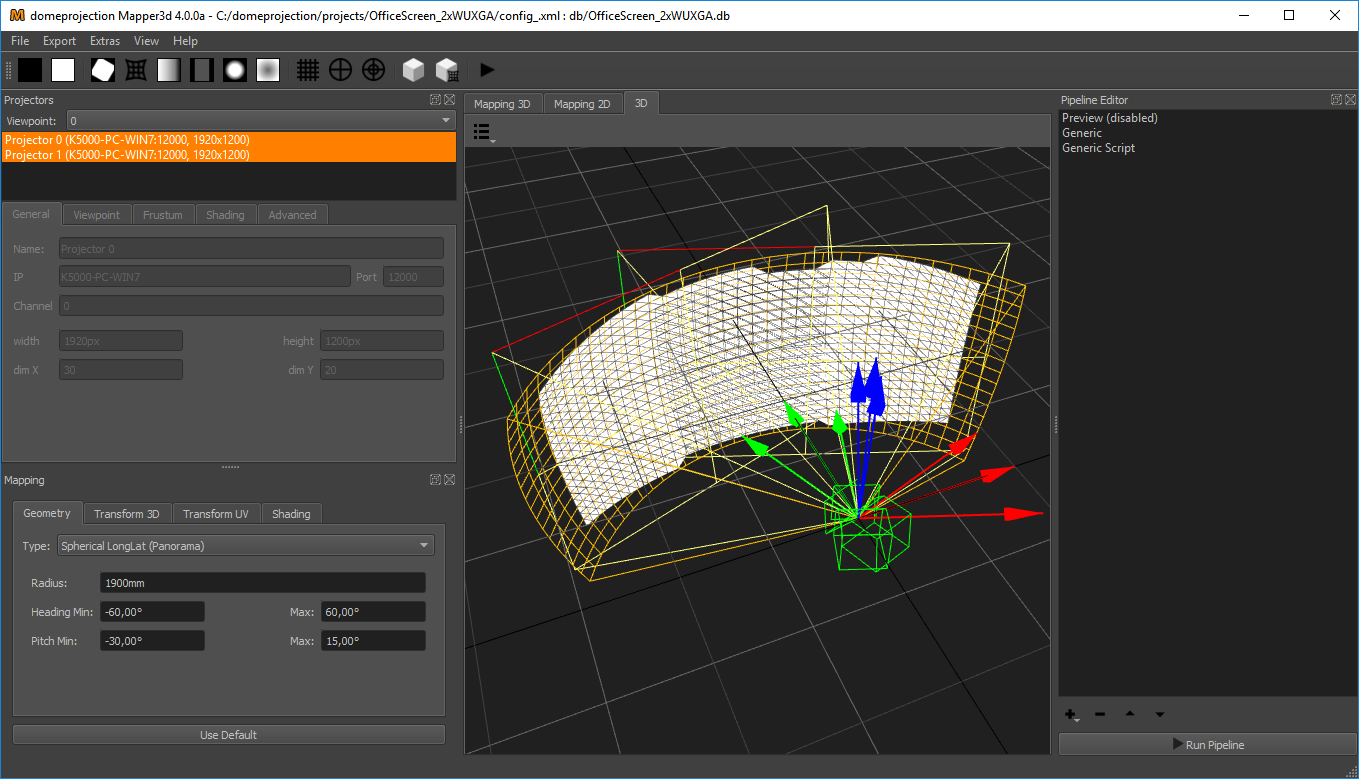
The measurement result is captured and calculated by the Mapper 2D (2D) tool. With the assistance of the integrated Clipping Editor feature, the edges of the image and other desired areas can be cleanly masked if needed. The final result is then exported, providing various exporter options for different hardware/software products.
ProjectionTools supports a wide range of well-known projector manufacturers, including Barco, Norxe, and even consumer-grade projectors. Moreover, the system is compatible with nearly all professional media server systems, such as Watchout, Resolume, Pixera, and Green Hippo etc. Click here to see all supported media server and here to see all supported image generators.
Watch this video to learn how ProjectonTools can help to align multiple projectors quick and easy.
Watch this video to learn how to align multiple projectors with ProjectionTools and how to achieve seamless multi-channel projection, delivering perfect warping and blending results, matched geometry, and the highest color and image quality.
The video tutorial here is intended for a quick introduction to the software. It shows initiating a project within the ProjectionTools Creator (CR). Other videos show the process of exporting to different media servers such as Watchout, Resolume, Hippotizer, Pixera or 3D engines like Unreal or Unity.
ProjectionTools demo download with warped and blended image previews
You can download a demo version of ProjectionTools that includes free warped and blended image previews. This demo version allows you to explore the software's capabilities and experience how it seamlessly aligns and blends projected images for your specific setup. Enjoy the convenience of previewing the results before making any commitment. Get started with the demo download today and take your projection mapping and calibration projects to the next level!
-
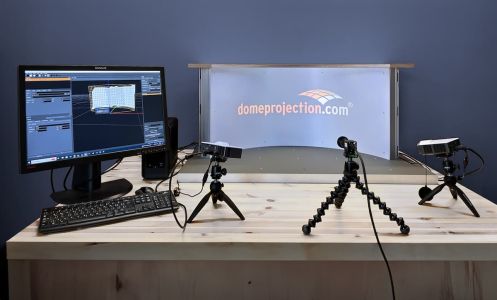
Get familiar with the workflow by using a webcam
-
Tools you can test: PatternGenerator (PPG), Creator (CR) Mapper2D (2D).
-
Create your own preview. In case you would like to test export-functions, please write us a message.
Hardware requirements for the ProjectionTools Demo-Version:
- Standard webcam (recommended: Logitech Brio, Logitech C920)
- 1 PC or Laptop with 3 video outputs, or 1 PC with 2 video outputs for PG - PatternGenerator + 1 control PC
Ask for a remote demo, which can be conducted independently of time and place. The demo training takes a maximum of 1 hour. You will learn how quick and easy auto-calibration and auto-alignment can be for a multiple projector set-up.
How do I get started?
Read the instructions that come with the installation.
- After installation, start the PatternGenerator (PG).
- Open the Creator (CR) and create a project.
- Use the wizard to initialize the screen, connect the projectors via IP addresses, set and position the camera, capture test patterns and generate projection geometry. Save the project.
- Open the project in Mapper2D (2D). Check the calibration result and create a preview.
Check additionally our tutorial videos here.
Contact information
If you would like to know more details about the benefits using ProjectionTools, please contact us as soon as possible:
domeprojection.com GmbH
Klausenerstr. 47
39112 Magdeburg/Germany
(Please use the contact form preferably.)
+49 (0) 391 63 60 66 46
+49 (0) 391 63 60 66 45